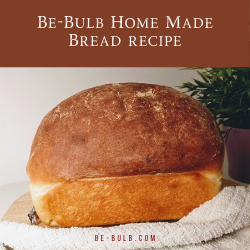
Be-Bulb Home Made Bread Recipe
Bread is like staple food for most people and it is actually not hard to make. All you need is simple ingredients which you can easily find in groceries stores. And… you don’t need a complicated machine to make it.
I love eating bread. It is so versatile that you can eat it any kind you like. You can make a sandwich with any filling you like. You can toast it and spread with any jam you like or just butter. You can make a pudding with it. You can also toast it with cheese on top.
But my favourite is eating bread with Nutella spread… hmmm… Yummy.
Making bread can be intimidating for those who never done it before. I felt the same way when the first time I was trying to make bread. But after a few times doing it, and trying out many different recipes, this is the recipe that foolproof to me. I love it and it tastes so good, especially when it just freshly comes out from the oven.
If this is your first time. Let me tell you, making bread is so rewarding. After all your hard work kneading it, and you see how beautiful it baked… it is very satisfying.
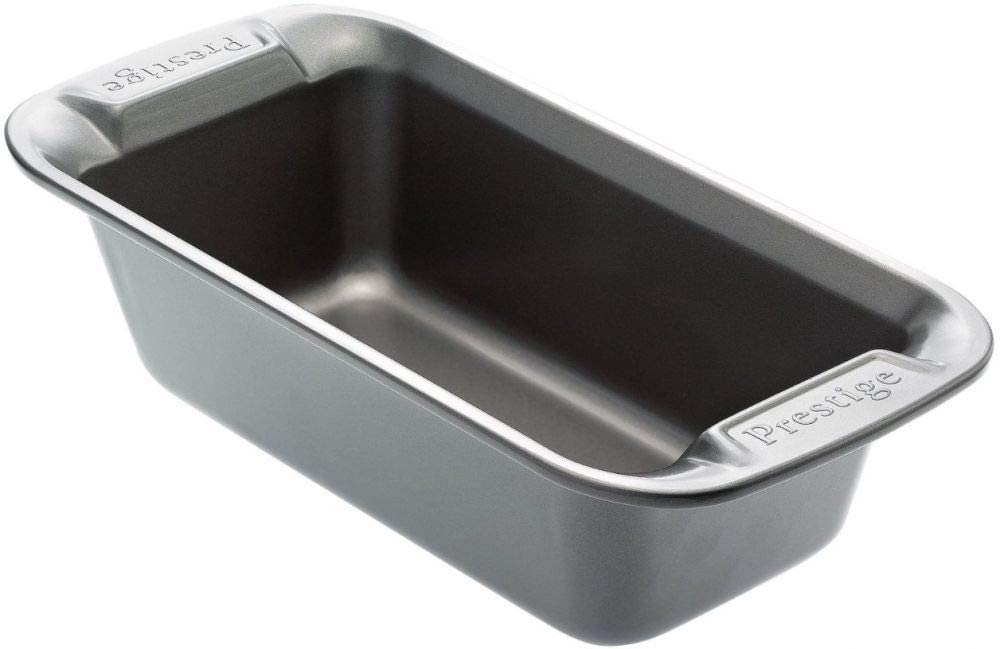
I use just the normal bread tin, which I can also use to make loaf cake like banana bread or other bread.
You can purchase bread tin from Amazon.ae and get it delivered to your door. So you can make bread the next day!

Don’t forget, always wait for the bread to cool down before cutting them. Use a serrated knife or bread knife to cut the bread.

Prestige 8 Bread Pointless Knives,Silver
Super sharp Bread Knives.
So, without further ado, there you have it. Good Luck!
Be careful… it is so addicting.
Share how your bread looks like.
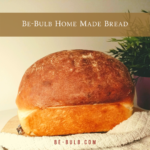
Be-Bulb Home Made Bread
Equipment
- Large Bowl.
- Measuring Jug.
- Measuring Cup: 1 Cup and 1 Teaspoon.
- Bread Tin or Loaf Tin or Loaf Pan.
- Smooth edges plastic Chopsticks.
- Cling Film.
- Plastic Bag, big enough to cover the Bread Tin.
Ingredients
- 2 teaspoons Instant Yeast.
- 2 teaspoons Brown Sugar.
- 1 pcs Egg at room temperature.
- 1 teaspoon Salt.
- 300 ml Lukewarm Water.
- 3 cups of All-Purpose Flour. For the dough.
- half a cup of All-Purpose Flour. For kneading the dough.
- Vegetable oil just enough to grease the Bread Tin.
Instructions
- YEAST MIXTUREIn a large bowl mix: Water + Yeast + Sugar. Mix well until the yeast and sugar disolves with the Chopsticks. The reason why I like to use chopsticks, because, they are easy to wash. You can also use a fork, but I hate to wash the dough in between the fork. HOW TO MAKE LUKEWARM WATER?Place the water (room temperature) in a measuring jug. Put in microwave for 20 seconds (depending on how strong is your microwave). Dip your finger in the water. If it is warm enough to feed a baby and will not burn your baby, then it's good to go. Otherwise, leave it to cool down for a bit. Make sure it is not too hot otherwise it will kill the yeast.
- EGG MIXTUREMix an egg + salt in the measuring jug that you just use to measure the water. Mix well until the salt dissolves. NOTE:Never mix salt directly with yeast, as salt kills yeast. So, that is why I mix the salt with the egg before adding it to the yeast mixture.
- COMBINE THE YEAST AND THE EGGAdd the egg mixture to the yeast mixture in the bowl and stir well until all mixed together.
- MAKING THE DOUGHAdd the flour into the bowl, mix with the chopsticks cup by cup. Keep stirring the dough until it forms a dough and no more liquid on the bowl.NOTE:If you just buy your yeast recently (not over 6 months) ago, you can mix the flour directly and it's fine. You don't have to wait for the yeast to start. But if your yeast if old, make sure that you wait for the yeast to start for about 10 minutes before mixing it with the flour. To start means the yeast mixture will start making bubble and come to life.
- KNEADING THE DOUGHNow it's time to knead the dough. I like to knead the dough inside the bowl. Simply because I don't like to make a mess on my countertop. Anyway, I made enough mess already. So, while kneading, keep your hands smothered with flour so it doesn't get sticky to the dough. Also, keep flouring the dough to keep it from sticking to the bowl.Keep kneading for about 5 minutes until you form a smooth and springy dough.
- LET IT RISE!Shape the dough into a ball and leave it in the bowl. Cover the bowl with Cling Film and make sure it's tight. Leave the dough to rise for about 1 hour or until the dough double in size. Keep the bowl in a warm place. TIPS:If your apartment or house is cold, here's the tip you can do. Heat your oven at 180°C or 350°F for 1 minute and completely shut off the oven. Now you can leave the dough inside the oven to rise.
- PREPARE THE BREAD TINGrease the bread tin with vegetable oil lightly. While waiting for the dough to rise, clean up your countertop.
- KNOCK IT BACK!Moment of truth! You can see your dough is rising very nicely. Congratulations! You made it this far. Open the Cling Wrap and flour your knuckle before knocking back the dough. Now, knock the dough right in the middle of the bowl. Knead the dough lightly to make sure that you don't leave any bubbles in the middle of the dough.
- SECOND PROOFINGShape the dough into a log and place it on the greased Bread Tin. Slice the dough in the middle to allow the bread to rise from the middle. You can also choose not to slice the dough, but what will happen when you back to bread, it will crack on the side. Cover with a plastic bag. Make sure that you make a space inside the plastic bag to allow for the dough to rise nicely without touching it. Leave it to rise for another 20- 30 minutes or until it doubles the size. NOTE:On this step, depending on how big you want to make your loaf. With this recipe, it is enough to make a large loaf of bread. What I mean by large loaf is when you put a slice into a bread toaster, it kinda peeking out a bit and it does not quite fit perfectly inside the toaster (just normal size toaster). So, you can split the dough into half. Use the other half for pizza dough or just make two loaves of bread.You can also keep the other half in the fridge, wrap with cling film ready to bake the next day. I would say don't go offer 2 days to bake it. I never did this before, but it is possible to do it.
- HEAT THE OVENAfter about 15 minutes of waiting, heat your oven for 5 minutes at 200°C or 400°F.TIPS:Usually, I spray the oven with water or put a little water (like around a quarter of a cup of water) at the bottom drip pan in the oven. So that the oven is well moist.
- LET'S BAKE!Woooaaaa! You will be so happy to see how beautiful your dough rising so well at his point. It is ready to bake. Now, your oven is nice and hot. Reduce the heat to 180°C or 350°F. Place your bread tin on the lower half shelf of the oven. Bake your bread for about 25 – 30 minutes. Keep watching it, but never open your oven door until it's time to remove the bread from the oven. Your bread will rise so high, and this is the time when you tap your shoulder for a Job Well Done!Don't burn the bread!
- ENJOY!Mission accomplished! I love the smell of freshly baked bread. Take out your bread off the Bread Tin. Be careful don't burn yourself. Leave it to cool on a cooling rack before you can cut into it.
Disclaimer: This post contains affiliate links, which means that if you click on one of the product links and decided to make a purchase, I’ll receive a small commission. This helps me to keep running this website. Thank you for your support.
Be.
Curious by choice. A planner at heart. Sharing stories about life, travel, wellbeing, faith, and the little lessons that help us grow. Be curious. Be kind. Be the light.